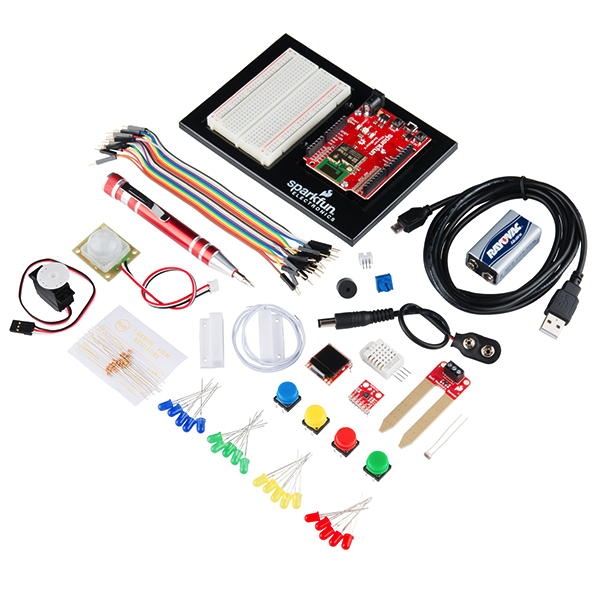
A. Meet Your IoT Kit
In this first tutorial, you'll become familiar with your team's IoT electronics kit.
Tutorial Goals
The goals of this first tutorial are to help you:
Understand the features of your Photon circuit board (pins, ports, buttons, LED lights)
Identify the other components in your Photon kit and their purposes (inputs, outputs, connectors, and cables)
Understand how to create electronic circuits by connecting components to the Photon circuit board (using power pins, I/O pins, jumper wires, and breadboard)
Photon Kit
This guidebook is tailored for an IoT electronics kit called the SparkFun Inventor's Kit for Photon, which will simply be referred to as the Photon kit.
SparkFun is a company that sells products to help people build and program electronics devices. Photon is a Wi-Fi enabled microcontroller (small computer) from a company called Particle that sells IoT hardware and services that help inventors and other companies create their own IoT products.
SparkFun created its own Photon kit by incorporating the Photon P1 microcontroller into an easy-to-use circuit board and packaged it with a set of inputs, outputs, wires, and other parts to help you start inventing your own IoT devices. It is also possible to purchase additional parts (sensors, motors, etc.) that can be used with this Photon kit.

NOTE: Your instructor may have provided you with a different IoT electronics kit. If your IoT kit is programmed using Arduino or Wiring, then you may still be able to use (or modify) the tutorials and references in this coding guidebook.
WI-FI NETWORK: Photon devices are relatively easy to setup to connect to home Wi-Fi networks or mobile hotspot devices. Photon devices running firmware version 0.7.0 or higher can be setup to connect to WPA2 Enterprise Wi-Fi networks (such as those typically found in schools, universities, and corporations). Teachers may need to coordinate with their school's IT administrator to follow Particle's guide to WPA2 Enterprise Setup.