6 Add Input to Game
Finally, let's add a way for a player to interact with the game by pressing a key.
Phaser CE supports the ability to detect input through a keyboard, mouse, touchscreen, or gamepad. If necessary, you can have multiple inputs (e.g., several keys plus mouse, etc.).
Declare Variable for Input Key
You'll have the player use the spacebar key as an input to interact with the game. To do this, you'll first need to declare a global variable to represent this input key.
Copy this JS code, and paste it on a new line after line 5 (which created the global variable named logo):
var spacebar;This JS code statement declares (creates) a new global variable named spacebar, which will be used to represent the spacebar key on the keyboard.
Add Input Key to Game
The next step is to add the spacebar key as an input for the game, which will allow your game to detect when this specific key is pressed by the player.
For Phaser CE games, input controls are added within the create() function as part of creating your game world.
Copy this Phaser CE code statement, and insert it within the create() function by pasting it on a new line after the line of code that set the anchor for the logo image:
spacebar = game.input.keyboard.addKey(Phaser.KeyCode.SPACEBAR);This code statement actually does two things:
It adds an input key to the game using a specific key code.
It assigns that input key to your global variable named
spacebar.
The game.input.keyboard.addKey() method requires one parameter inside its parentheses:
Key Code — which is a code that represents a specific key on the computer keyboard. The Phaser CE API reference has a complete list of key codes. Some examples include:
Letter Keys:
Phaser.KeyCode.A= letter A keyNumber Keys:
Phaser.KeyCode.ONE= number 1 keySymbol Keys:
Phaser.KeyCode.PLUS= plus symbol keyArrow Keys:
Phaser.KeyCode.UP= up arrow keyFunction Keys:
Phaser.KeyCode.F1= F1 function keySpecial Keys:
Phaser.KeyCode.TAB= tab key
Check Input Key During Gameplay
Each input key that is added to your game has several properties that be checked to determine if and when the key is pressed (or released):
isDown— value is true if key is currently pressed downisUp— value is true if key is currently released up (i.e., not being pressed)justDown— value is true only when key has just been pressed downjustUp— value is true only when key has just been released up
For this game, you'll change the background color of the game canvas if the spacebar key has just been pressed down (meaning the player will have to release the spacebar key and press it again, in order to change the background color again).
You can use an if conditional statement to check if a specific condition is true or false:
If the condition is true, whatever code statements you've listed within the
ifstatement will be performed.If the condition is false, those code statements will not be performed.
Copy this code, and paste it on the blank line within the update() function:
The if statement checks whether the spacebar.justDown property is currently true or false. If this condition is true, the code listed within the curly braces will be performed.
The code statement within the curly braces is a Phaser CE code statement that will set the background color of the game canvas (game.stage) to a random color.
Because the update() function runs repeatedly in a loop, the game will keep checking the spacebar key to see if it has just been pressed down.
Preview Game
Preview the game in your code editor. Depending on your code editor, you might need to refresh its preview pane. If necessary, open the preview in a new tab or window to view it in fullscreen.
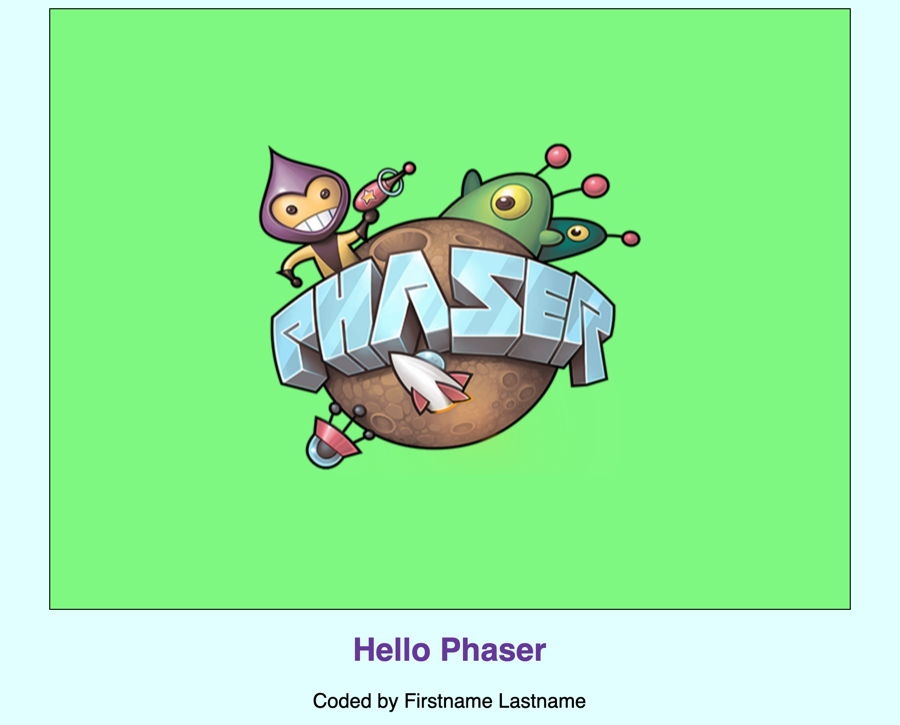
Your game's background should change to a random color each time you've just pressed the spacebar key (you'll have to release the key and press it again to change the color again).
If so, congratulations — you've successfully completed the Hello Phaser tutorial!
(Otherwise, if not, double-check your code to see where you might have a mistake.)
